Metallographic Preparation of Fasteners
Metallographic Preparation of Fasteners
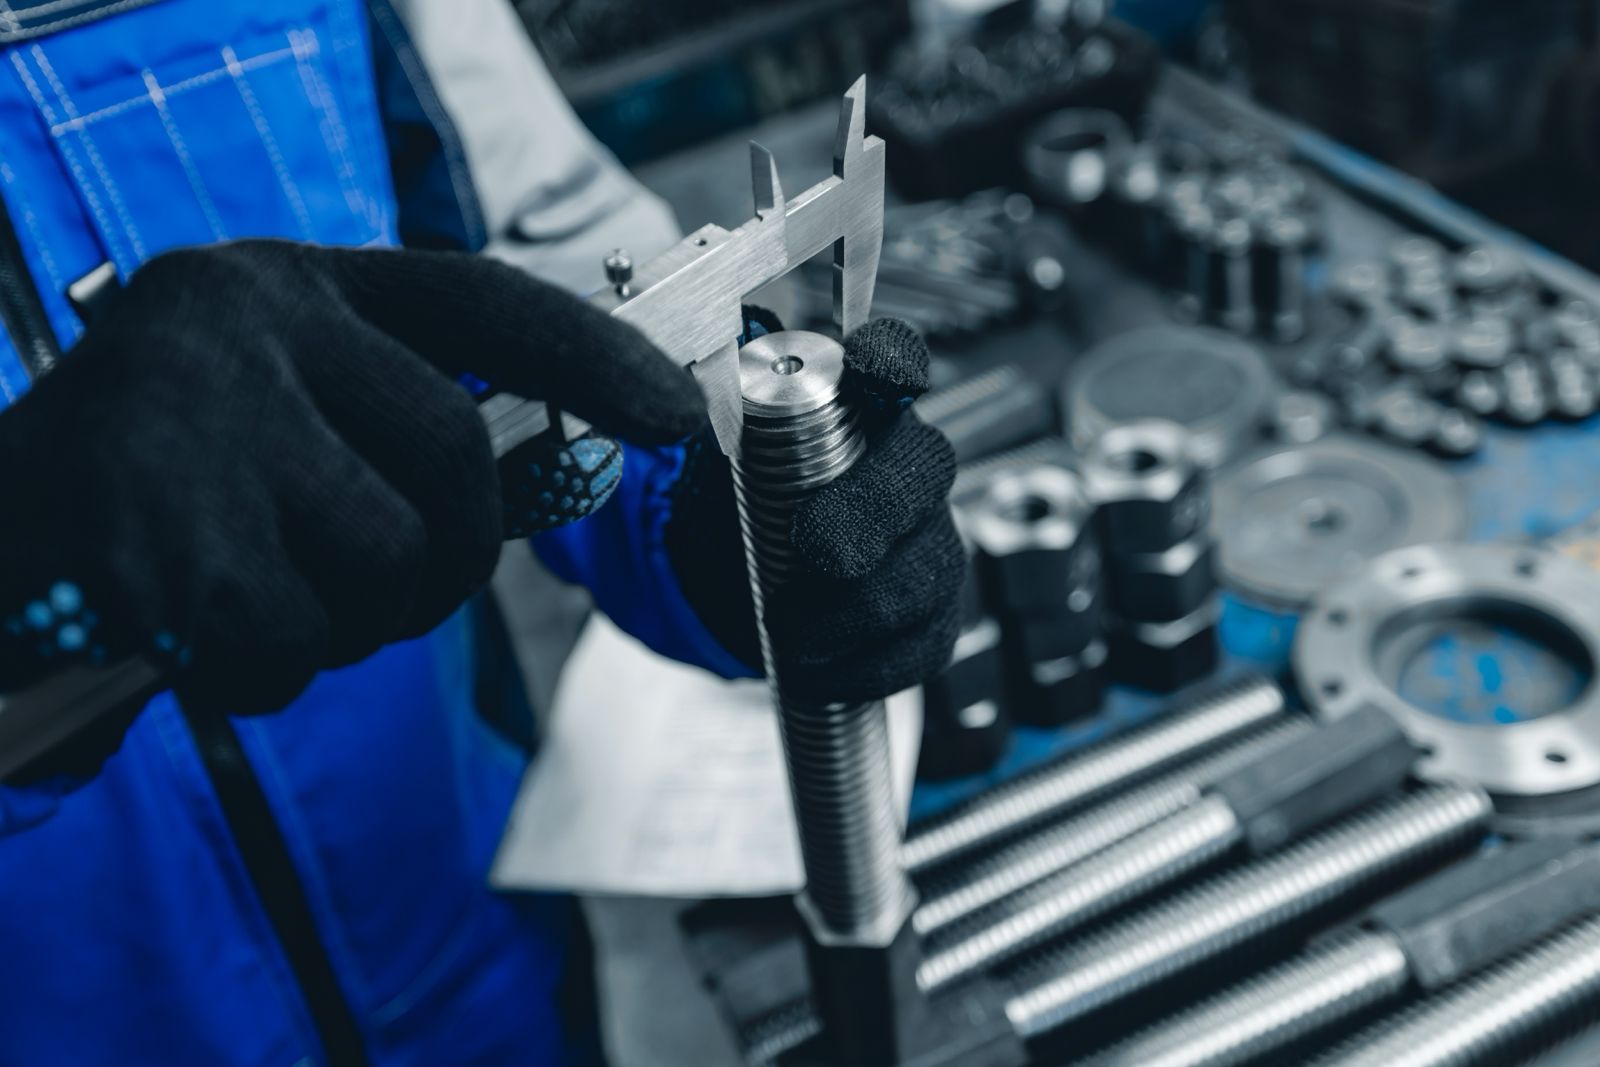
Metallographic preparation serves as a necessary quality control process for fastener manufacturers worldwide. Proper sectioning, mounting, and polishing techniques directly affect the accuracy of microstructure analysis and defect detection. Correct sectioning technique allows cuts close to the center and minimizes subsequent grinding and polishing steps.
We will guide you through complete metallographic sample preparation procedures. You’ll learn everything from selecting appropriate metallographic preparation equipment to achieving low-damage sectioning with effective cooling methods. This piece covers key processes that include mounting methods for edge preservation and progressive grinding and polishing procedures. Microstructure analysis techniques are also covered. You’ll learn how to assess decarburization and carburization zones. We’ll show you how to conduct hardness testing according to ASTM E3 metallographic preparation standard compliance and apply proper etching procedures for accurate fastener quality assessment.
Sample Sectioning and Cutting Techniques
Off-Center Sectioning for Longitudinal Analysis
Fastener specifications require longitudinal sectioning to reveal the profile for head, thread, and shank regions. The fastener’s geometry presents the biggest problem during metallographic preparation, as protruding heads make secure clamping difficult when making cross-sectional cuts. Very small fasteners can be mounted and ground to center. Most fasteners must be cut off-center to account for material loss during subsequent grinding and polishing. This approach allows for typical analysis and maintains sufficient material for preparation steps.
Special threaded holders secure medium-sized or thin fasteners during sectioning. Smaller screws and rivets benefit from trimming the head on one side. This allows the fastener to be laid flat. Grinding proceeds to the center for analysis after mounting.
Blade Selection for Low-Damage Cutting
Thinner profile cutting blades of the correct type for the material reduce heat and load that would otherwise damage the sectioned face. A blade that is half the thickness cuts through half as much material and substantially decreases thermal damage. This principle produces faster cuts with higher-quality surface finishes.
Abrasive cut-off wheels contain aluminum oxide or silicon carbide particles bonded with resin or rubber matrix. The bond type and abrasive composition determine cutting speed, material removal rate, and heat generation. Precision wafering uses thin diamond or cubic boron nitride blades for delicate materials where minimal damage is critical.
Cooling Methods During Sectioning
Adequate cooling prevents heat damage and extends blade life. Cooling fluid removes heat from the cutting zone and flushes away cutting debris. It lubricates the cutting action and prevents material from adhering to the blade. Continuous coolant flow directed at the cutting zone maintains specimen integrity throughout the sectioning process.
Pulsed Cutting Technology
Pulsed cutting pauses the sectioning machine progression at regular intervals. This allows coolant to reach the contact surface more effectively. This technique will give effective abrasive blade bond breakage that exposes fresh abrasive and results in cleaner cuts. A titanium fastener cut without pulsed technology showed clear thermal damage on the sectioned face compared to the portion cut with pulsed technology enabled.
Securing Fasteners During Sectioning
Fasteners must be secured throughout sectioning to ensure accurate, uniform off-center cuts and prevent blade breakages. Specialist fixtures accommodate particular fastener sizes and geometries. Samples that cannot be clamped due to size can be mounted onto a wafer chuck using crystal bond high temperature wax. This provides sufficient strength. The wax requires heating to its melting point before application and takes 2 to 3 minutes to cure.
Mounting Methods for Edge Preservation
Hot Compression Mounting Process
Encapsulating fasteners in resin prior to grinding and polishing makes preparation of multiple samples faster while maintaining specimen integrity. Hot compression mounting applies heat and pressure to encapsulate the metal specimen in thermosetting resin or thermoplastic compounds. The process operates at temperatures between 150 and 200°C, while pressure depends on mold diameter and ranges from 100 to 300 bar.
Metallographic Mounting Machine | Optimizing Specimen Preparation
Common thermosetting compounds include phenolic, epoxy, and diallyl phthalate, with methyl methacrylate serving as a thermoplastic mounting compound that’s accessible to more people. This method produces harder mounts that improve edge retention on harder materials, creates mounts of predictable size and shape, and makes manual polishing easier through simple specimen handling. So mounted specimens work well in automated grinding and polishing equipment.
Resin Selection for Metallographic Sample Preparation
Epoxy resins provide superior edge retention and remain unaffected by hot or boiling etchants. Resins containing hard filler material deliver optimal results for fastener analysis when hot mounting. Diallyl phthalate resins offer excellent edge retention and suit hard materials requiring precise edge preservation.
Preventing Shrinkage Gaps
Gaps between specimens and mounting material cause edge rounding, contamination accumulation, and etchant leaching that prevents correct microstructural analysis. Cooling thermosetting compounds under pressure to near ambient temperature before ejection reduces shrinkage gap formation by a lot. Never cool a thermosetting mount with water after hot ejection, as this causes the metal to pull away from the mounting compound faster.
Multiple Sample Mounting
Dual mounting techniques allow two samples to be mounted using the same cycle time. Mounting the complete fastener part followed by planar grinding eliminates sectioning steps when fasteners have diameters below 6mm.
Mounting Equipment Selection
Water cooling proves essential for faster turnaround time. Better compression mounting machines reach temperatures of at least 200°C.
Grinding and Polishing Procedures
After mounting, samples undergo systematic grinding and polishing to reveal microstructure details for analysis. This preparation removes sectioning damage and reduces surface roughness to achieve mirror-like finishes.
Progressive Grinding Steps
Planar grinding establishes a flat reference surface and eliminates mounting material and specimen irregularities. Start with 120 to 180 grit silicon carbide paper for 30 to 60 seconds. Progress through 240 grit for 30 to 45 seconds, then 320 grit for 30 to 45 seconds, 400 grit for 30 seconds, and finish with 600 grit for 30 seconds. Rotate specimens 90 degrees between each grit change to remove previous scratches. Maintain moderate pressure at 25 to 30N with disk speeds of 250 to 300 RPM. Water serves as lubricant and carries away debris that could cause thermal damage.
Polishing Techniques for Thread Analysis
Diamond suspension polishing removes fine scratches after grinding. Apply 9μm diamond suspension for 5 to 7 minutes at 150 RPM with 25N force. Use 6μm suspension for 4 to 6 minutes at 150 RPM and 20N pressure next, then apply 3μm suspension for 3 to 5 minutes at 150 RPM and 15N force. Thread decarburization assessment requires precision. Add a 1μm diamond polish using medium hard surfaces to maintain planarity without rounding or deformation artifacts.
Edge Protection During Preparation
Diamond grinding disks with rigid substrates prevent embossing that occurs with fasteners containing phases of varying hardness. High-hardness diamond particles at 8000HV cut soft and hard phases uniformly. Hard, thin woven cloths paired with diamond polishing liquid work best for rough polishing. Minimize final polishing time with napped cloths since these promote embossing more readily.
Surface Finish Requirements
Final polishing with 0.05μm colloidal silica on soft nap-type cloth produces mirror finishes that reveal microstructure details. Decrease pressure to 10 to 15N and speed to 120 to 150 RPM. This stage requires 2 to 5 minutes depending on material hardness.
Microstructure Analysis and Quality Assessment
Accurate microstructure revelation makes quality assessment of heat-treated fastener components possible through systematic evaluation protocols.
Decarburization Zone Evaluation
Standards specify two critical measurements: maximum depth of complete decarburization (G) and height of non-decarburized zone (E). Complete decarburization appears as a ferritic structure that offers excellent contrast against bulk microstructure. Samples require etching for at least 20 seconds to produce deeper etch during evaluation. Assessment follows ASTM E1107 guidelines and uses image analysis scripts to quantify results.
Carburization Assessment Methods
Carburization diffuses carbon into surface regions and produces martensitic microstructure after quenching with typical hardness values around 600-700HV. Assessment occurs through microscopic examination or hardness testing per EN ISO 898, ASTM F2328M, ASTM E1077, and ISO 3887.
Hardness Testing to Confirm Results
Microhardness testing using Vickers HV0.3 confirms decarburization absence when point 2 hardness equals or exceeds point 1 hardness minus 30 Vickers units. This method applies to fasteners with pitch greater than or equal to 1.25mm[191].
ASTM E3 Metallographic Preparation Standard Compliance
ASTM E3 provides detailed procedures that ensure consistent, repeatable metallographic specimen preparation results. Compliance supports effective failure analysis and material behavior assessment.
Etching Procedures to Reveal Microstructure
Polished components undergo etching using 2-3% Nital solution (nitric acid in ethanol) for optical microscopical analysis[173]. Etching reveals different zones on threaded regions, decarburized layers, and core microstructure while exposing processing defects.
To Sum Up
We’ve covered the complete metallographic preparation workflow for fasteners, from off-center sectioning and low-damage cutting techniques to systematic grinding and polishing procedures. Proper mounting methods preserve critical edges, while progressive preparation steps reveal microstructure details needed to assess quality. You can now review decarburization zones, conduct hardness testing, and apply appropriate etching procedures. These techniques ensure accurate fastener analysis and reliable quality control in your manufacturing process.


