Metallographic Mounting Machine | Optimizing Specimen Preparation
Metallographic Mounting Machine | Optimizing Specimen Preparation
In terms of mounting metallographic samples, the introduction of phenolic thermosetting plastics in ’28 completely changed the face of the industry, by giving us a reliable way to encase the specimens, though initially, it wasn’t exactly sophisticated. Coming into the ’50s, castable resins took the industry to new levels, and enabled us to adjust the process, controlling shrinkage, hardness and the way a lot of the sample is preserved.
Today, the well-known thermosetting epoxy resins that we use, are essentially able to hold the edges of the specimens in place, cause virtually no shrinkage and have a firm grip on any type of metallographic sample, all of which are crucial to the success of the grinding and polishing process.
We now also have more user-friendly, economical, and rapidly setting acrylic systems, which make them perfect for high-volume operations. Temperature plays an enormous part in the hardening process too. If it gets too high, it can cause micro-cracks, warping and distortion in both the mount and the sample, but we’ve got around this problem by using conductive heating, and bringing the maximum curing temperature down from around 540 degrees Fahrenheit to about 108 degrees Fahrenheit.
Understanding Metallographic Mounting Machine Types
When looking to buy a metallographic mounting machine, there are three main types to choose from, all of which have their own way of working, and one that is right for you will depend on the size of your lab and the type of samples you’re working with.
Manual vs Semi-Automatic vs Automatic Machines
Manual mounting presses are best for labs that don’t have a lot of samples, because these machines require the operator to control the pressure and heating cycles themselves. They’re good for jobs that need a flexible and customised approach.
Semi-automatic mounting presses merge manual control with automated features, and let you set parameters such as pressure, speed and polishing time but give you the opportunity to still get your hands dirty. They produce more consistent results than manual systems, and are well-suited for routine sample preparation.

Automatic mounting systems do the whole job themselves, with pre-programmable stages that take care of the process from start to finish. They eliminate human error and give you identical results each and every time, making them a good fit for high-volume labs.
Hot Compression Mounting Machines: Use Cases and Limitations
Hot mounting presses are here to save the day, when encasing specimens. They produce perfectly uniform, parallel samples ideal for hardness testing, and the latest models, such as the EcoPress 202, use hydraulic pressure up to 300 bar and can heat up to 392 degrees Fahrenheit.
However, there are limits to hot mounting. Electronic components, polymer materials, and composites, for instance, can warp when subjected to heat. And porous materials, and complex network structures, are simply not possible to hot mount.
Well-known newer presses now get around these issues. They delay the application of pressure until they have reached the precise temperature, making it possible to work with a wider range of materials.

Cold Mounting Systems: When to Choose Castable Resin Machines
Cold mounting systems don’t need pressure or external heat. They’re perfect for specimens that can’t handle heat or pressure. You’ll find three main types of resins:
- Acrylics: These cure quickly and barely shrink, but their surface tension can make manual polishing tricky
- Epoxies: These stick really well to specimens and shrink less than other resins. They work great with vacuum impregnation chambers, especially low viscosity formulations that can fill cracks and pores
- Polyesters: Their heat reaction falls between acrylics and epoxies, and they don’t shrink much. They’re not as chemical-resistant as epoxy resins though
Key Factors in Machine Selection for Lab Use
Several practical factors need to be considered, each with its own set of challenges, when choosing a metallographic mounting machine for your laboratory. The geometry of your specimens is a determining factor, and your mounting press cylinder’s diameter is one of the key aspects that make sure samples are supported properly. Ideally at least 3 to 5mm from the cylinder’s inner diameter.
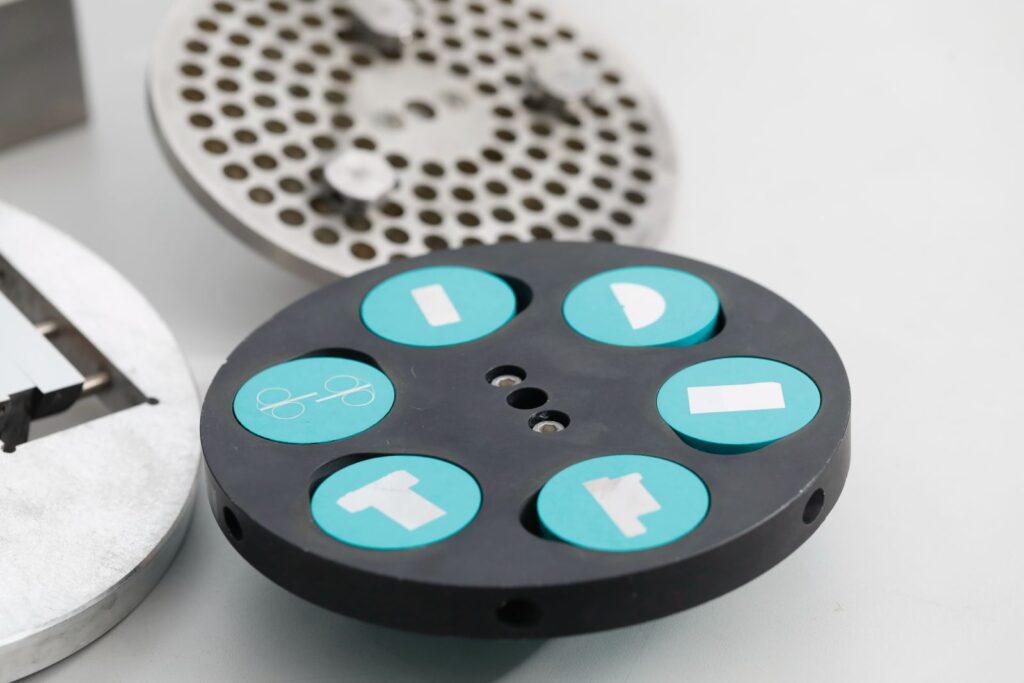
Sample Size and Shape Compatibility
The geometric properties of the specimen are a top consideration, when choosing a mounting press. Your press’s mounting diameter should allow for a minimum of 3 to 5 mm of space between the cylinder wall and the specimen. Coming too close to the edge, especially on samples with sharp corners, leads to resin cracking. Metal fixation clips on the other hand can be used to support smaller or thinner specimens, and are great for hot mounting, and most presses have a standard cylindrical diameter of 25 mm to 50 mm.
Throughput Requirements for High-Volume Labs
With respect to hydraulic presses in your lab, the volume of samples you process determines how much automation you’ll need. Manual hydraulic presses are a great option for labs that don’t have a lot of throughput, where operators can manage all the cycles themselves. Well-known labs that process high volumes, however, really get the most out of fully automatic systems that feature programmable mounting cycles, and cooling features to help increase productivity. These advanced systems can be programmed to create temperature and pressure profiles, and, thanks to the very rapid cooling, cut down cycle times with no loss of quality, consistent batches.

Edge Retention Needs for High-Magnification Analysis
With respect to hydraulic presses in your lab, the volume of samples you process determines how much automation you’ll need. Manual hydraulic presses are a great option for labs that don’t have a lot of throughput, where operators can manage all the cycles themselves. Well-known labs that process high volumes, however, really get the most out of fully automatic systems that feature programmable mounting cycles, and cooling features to help increase productivity. These advanced systems can be programmed to create temperature and pressure profiles, and, thanks to the very rapid cooling, cut down cycle times with no loss of quality, consistent batches.
Specimen Sensitivity to Heat and Pressure
For mounting materials, you should let the characteristics of your material guide the process. Coming from the standard, hot mounting techniques require temperatures of around 180 degrees Celsius and 250 bar pressure, which can be too severe for heat sensitive materials. Heat sensitive materials require milder conditions of about 150 degrees Celsius with extended heating times to stop thermal damage. Some materials are completely unable to withstand any heat or pressure, such as electronic assemblies, and polymers or thin sheets, which demand a cold mounting method. Softening the resin prior to application of pressure is a good way to make the process more effective for porous, or pressure-sensitive specimens.
Material Compatibility and Mounting Resin Considerations
It’s not an afterthought to selecting a good metallographic mounting machine. The qualities of the resin will lay the groundwork for accurately preparing your samples, when choosing a resin for metallographic mounting.
Thermosetting vs Thermoplastic Resin Compatibility
In the case of embedding specimens, thermosetting resins lock everything in place with a chemical bond, which can’t be reversed. Thermoplastics are different, they get soft when heated and harden again when they cool, allowing you to reheat them. Coming from a practical standpoint, thermoplastics require lower embedding temperatures (120-150°C) and don’t cause the specimens to shrink much, which is why they work so well with delicate specimens. Thermosetting resins are the way to go if you want to get precise microstructural details.
Epoxy vs Acrylic: Adhesion, Shrinkage, and Cure Time
Speaking of sticking to specimens, epoxy resins are almost flawless. They hardly shrink, keep the edges in place and hold up well to the chemicals used in etching. Unfortunately, they take a good 8 to 24 hours at room temperature to cure. Coming hotfooting out of nowhere, acrylic resins dry much more quickly, usually in between 8 and 30 minutes, but have a tendency to shrink and become softer. This makes them ideal for high-volume work where speed is the main priority.
Vacuum Impregnation Support for Porous Samples
When using vacuum impregnation to get resin into porous materials you need to take into account that you’re essentially removing the air from the space, which isn’t easy. Most resins just won’t cut it, but well-known low-viscosity epoxy resins are the exception, and have the right vapour pressure for the job. Coming anywhere near the limit of 0.8 bar in vacuum pressure will send the low-boiling components flying out of the system, and this is basically the only technique that works well for things like minerals, sintered materials, spray coatings and micro-cracked specimens.
Exotherm Management in Large Mounts
Acrylic polymerisation can reach as high as 270°F (132°C) when the setup is insulative, but drops to just 108°F (42°C with a conductive approach, basically because heat is dissipated so much better. Epoxies don’t generate much heat, only about a 45°F (7°C rise, but some quick-set formulations can get hotter than acrylic systems.
Ease of Cleaning and Maintenance Access
Evaluating a metallographic mounting machine for your laboratory, take into account the design’s friendly upkeep. Think about the 6.6-gallon recirculating coolant systems and see-through water level gauges that will save you time and money. Well-known low-vibration motors give you consistent results, extend the life of your equipment, and mean less maintenance. At a maximum noise level of 62 dB measured at one meter from the source, this equipment won’t disrupt a laboratory environment.
Choosing the right metallographic mounting machine is basically the difference between a lab that runs smoothly and one that doesn’t. The spectrum of options now ranges from simple manual presses to sophisticated automated systems, so even the smallest labs have a lot of possibilities. Coming hotfooting between manual, semi-automatic, or automatic machines is all about the volume of samples you need to process and how much you can afford, however.
Hot mounting systems give uniform samples that are fantastic for hardness testing but may not be able to handle heat-sensitive materials, so cold mounting is the way to go for temperature or pressure sensitive specimens like electronic components and polymers.
The properties of the sample you’re working with will determine the specifications of the machine you need, it’s not possible to get away from that. The size, shape and properties of your specimen will decide the accuracy of your results, and edge retention is more important than ever when you’re working at high magnifications. Thermo-setting resins are good at preserving the edges of your samples, but thermoplastic options are better suited for very delicate specimens.
Epoxy and acrylic resins are different in more ways than just curing times, the adhesive strength and shrinkage are just a few of them, and labs need to weigh up which features are most important to them.
Well-known guidelines in the metallographic mounting machine selection process will show you the way to a reliable preparation process, accurate analysis and seamless lab operations, the requirements of any materials science facility.


