Metallographic Grinding Tips: Expert Guidance for Perfect Sample Preparation
Metallographic Grinding Tips: Expert Guidance for Perfect Sample Preparation
Metallographic grinding remains the secret to effective microstructural analysis, yet labs get bogged down in inconsistent results and sample defects. Poor grinding procedures can render your entire analysis useless, creating misleading artefacts and wasting valuable research time. We’ve observed that even experienced metallographers tend to overlook important grinding parameters that make a significant difference to the outcome.
In addition, the right metallographic grinding and polishing equipment makes a significant difference in sample quality. Getting the proper grinding sequence, in which it is coarse to fine abrasives, is the key to successful metallographic preparation. Finally, understanding when to use specific metallographic grinding consumables will prevent typical defects like scratches, smearing, and pseudoporosity. In this definitive guide, we’ll provide you with expert advice and step-by-step techniques we’ve honed over decades of laboratory practice to enable you to produce perfect sample preparation every time.
Understanding the Role of Grinding in Metallographic Sample Preparation
Grinding is the most critical foundation of metallographic sample preparation. While it’s often thought of as simply a front step of a sequence of processes, correct grinding is what guarantees your ultimate microstructure is a proper representation of the real material properties. After cutting and mounting, the surface of the specimen is being deformed and needs to be systematically taken away through a series of increasingly finerabrasive steps.
Why flatness and surface integrity matter
Flatness of the surface achieved by grinding also influences the precision of the subsequent microstructural analysis. Should a specimen not be flat, microscopic examination is rendered difficult by the presence of regions out of focus, particularly at higher magnifications. Moreover, unflattened surfaces impart misleading topographical features which can be mistakenly identified as actual microstructural characteristics.
What is Metallography? Definition, Techniques & Industrial Applications
Surface integrity, however, relates to the subsurface condition caused by grinding. Each abrasive interaction with the test specimen creates a deformation layer beneath the nominal surface. As stated in metallographic troubleshooting guides, this deformation varies significantly with material types:
Soft, ductile materials (like aluminum alloys) can smear grinding, and thereby obscure major features such as porosity
Hard, brittle substances (ceramics, some steels) crack or spall at the surface, creating artificial porosity that is unrepresentative of the structure
Thus, proper grinding establishes the geometric and metallurgical foundation for sound analysis.
Impact of grinding on microstructural analysis
The linkage between quality grinding and correct analysis cannot be overemphasized. Indeed, as metallographic experts have illustrated, improper grinding produces numerous artifacts that compromise research validity:
- False porosity readings – Over-representation (in fracturing brittle materials with surface cracks) and under-representation (in smeared surface ductile materials) of porosity result from grinding defects
- Thickness of deformation layer – Excessive pressure or use of coarse abrasives creates deeper deformation that is not always eliminated in subsequent operations
- Contamination introduction – Poorly cleaned specimens or contaminated grinding media introduce foreign material to be mistaken for actual material constituents
Because of this, metallographers must examine specimens microscopically from time to time between grinding stages. As stated in troubleshooting data, examination of the same location every two minutes during grinding helps in finding when the specimen is best prepared for the subsequent process.
Link between grinding and polishing outcomes
Quality grinding is sole and direct determinant of polishing success. In particular, defects resulting from grinding material introduced, seemingly removed by grinding, frequently persist upon polishing. For example, lapping tracks created by rolling abrasive particles during grinding create permanent deformation that recurs on finish polishing operations.
Three parameters of grinding become determinants of future polishing success:
- Grinding sequence progression – Each size of abrasive needs to relieve deformation of the preceding one while developing progressively dwindling deformation itself
- Surface cloth resilience matching – Various hardness materials require specific cloth resilience both in polishing and grinding
- Lubricant amount and distribution – Insufficient lubricant during grinding leads to thermal damage and smearing that is difficult to polish.
Metallographers must therefore carefully control each of the grinding parameters in a way that establishes the basis correctly for polishing. As noted in metallographic preparation routines, even advanced polishing techniques cannot compensate for elementary grinding flaws like scratches that are very deep, smearing, or lapping tracks.
The ultimate goal of precise grinding is not only to obtain a scratch-free surface but, more importantly, to provide a specimen surface that accurately represents the actual microstructure of the material after final polishing and etching procedures.
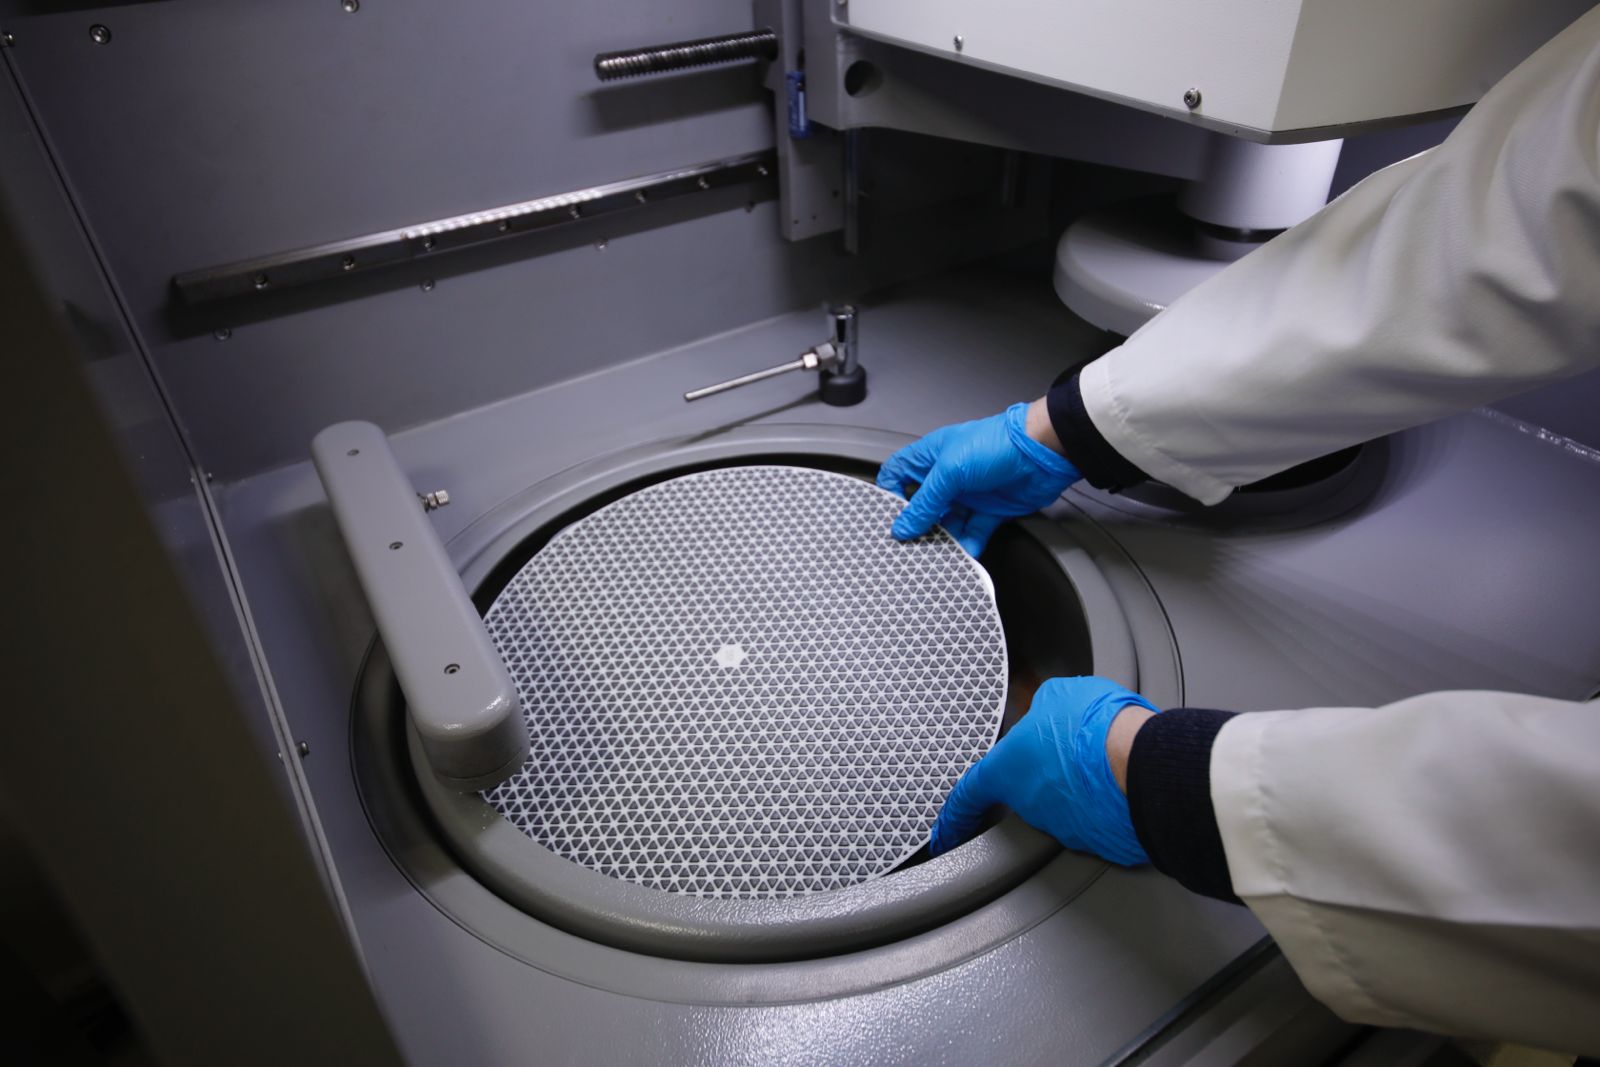
Choosing the Right Metallographic Grinding Equipment
Adequate equipment selection forms the basis of productive metallographic preparation. Adequate machines not only optimize efficiency but also avoid common defects like smearing, lapping tracks, and false porosity that compromise analytical integrity.
Types of metallographic grinding and polishing machines
Metallographic laboratories utilize three main types of equipment categories, each for specific demands of preparation:
Single-disk grinders offer minimal capability for hand sample preparation. Single-disk systems are made up of one spinning disk and require operators to manually press specimens against the grinding surface. While being very cheap, they require high skills to exert consistent pressure and achieve uniform flatness.
Semi-automatic systems consist of specimen holders that provide controlled pressure in the process of spinning specimens against grinding surfaces. They also provide programmable cycle times and adjustable pressure controls, a compromise between cost and precision.
Completely automated systems control every preparation variable through programmed recipes. Advanced machines keep track of precise specimen-to-disk pressure, rotation speed, lubricant flow, and cycle time. More advanced models even have multiple preparation stations for processing in series independently of operators.
The choice among these systems is determined primarily by sample number, accuracy required, and expense. Even the most sophisticated equipment requires good technique, however, to deliver best results.
When to use manual vs. automatic systems
Manual preparation remains an alternative for laboratories that have low sample throughput or limited budgets. There are some merits, however, in using automatic systems in the following situations:
Use automated systems when:
- Preparing large batches of samples needing uniform preparation
- Working with problematic materials that are prone to preparation artifacts
- Requiring high-precision control of pressure to prevent thermal damage
- Working with multi-phase specimens where controlled lubricant supply prevents preferential polishing
Maintain manual preparation when
- Working with sensitive or special specimens requiring being touched
- Working with irregular samples which cannot be placed in standard holders
- Performing specialized procedures which can’t readily be programmed in automated systems
- Operating under cost constraints where equipment investment is not warranted
The first users of automated equipment need to understand that creation of correct sequences of preparation requires familiarity with the concepts of each step of preparation. Metallographic experts say that an incorrect parameter selection in automated equipment can even increase rather than remove common preparation defects.
Metallographic Cutting Guide: Pick the Right Machines, Wheels & Coolants
Planer grinder vs. specimen grinding & polishing machine
The two machines differ in their primary function and material removal technique:
Planer grinders employ fixed grinding wheels or stones for high-speed material removal. Planer grinders excel in the following:
- Flattening multiple mounted specimens in a single operation
- Bulk material removal of mounting to expose extensive sample surfaces
- Creating reference planes in specimens with rough surface profiles
- Initial grinding of hard, hard-to-machine material
Specimen grinding and polishing machines employ replaceable disks with progressively finer abrasives. They provide:
- Enhanced surface finish through sequential abrasive removal
- Enhanced control over deformation depth through pressure control
- Increased flexibility of preparation options with replaceable grinding/polishing surfaces
- Enhanced prevention of preparation artifacts by control of lubricant
Each equipment type may be needed in laboratories handling diverse materials. Planer grinders are mostly used in most laboratories for initial preparation, while specific grinding and polishing equipment is used for generating finer surfaces.
Most importantly, good metallographic preparation depends on the choice of equipment that would allow one to control key variables such as pressure, abrasive progression, lubricant delivery, and rotation dynamics. Extremely simple equipment can produce outstanding results when used together with great care in paying attention to material-specific preparation needs.
8 Expert Tips for Perfect Metallographic Grinding
Control of the metallographic grinding methods raises mundane sample preparation to microscopic revelation. With excellent equipment, though, inferior technique is often the cause of misleading artifacts and wasted effort. These expert pointers, gleaned from metallographic troubleshooting guides, keep you out of common pitfalls and on the way to acquiring sound, artifact-free specimen surfaces.
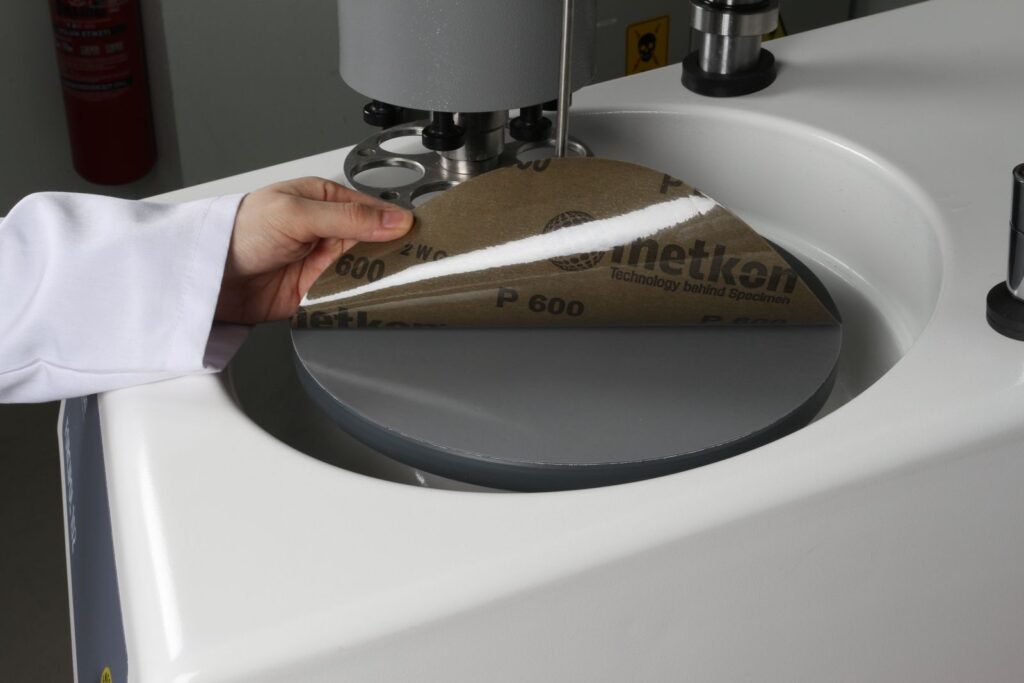
Use the correct abrasive size sequence (e.g., P240 to P1200)
Appropriate abrasive progression is the key to effective grinding. Begin with progressively coarser abrasives (typically P240-P320) to eliminate cutting damage effectively. Then, progress through middle grits (P400-P600) before ending with fine abrasives (P800-P1200). Each step must eliminate the deformation layer brought in by the prior grit while producing successively shallower deformation itself.
To obtain most metallographic applications, reducing grit size by a little less than 30% from step to step is optimum. Omitting grades creates deeper scratches that will become apparent after etching, although they appear to be eliminated when polishing.
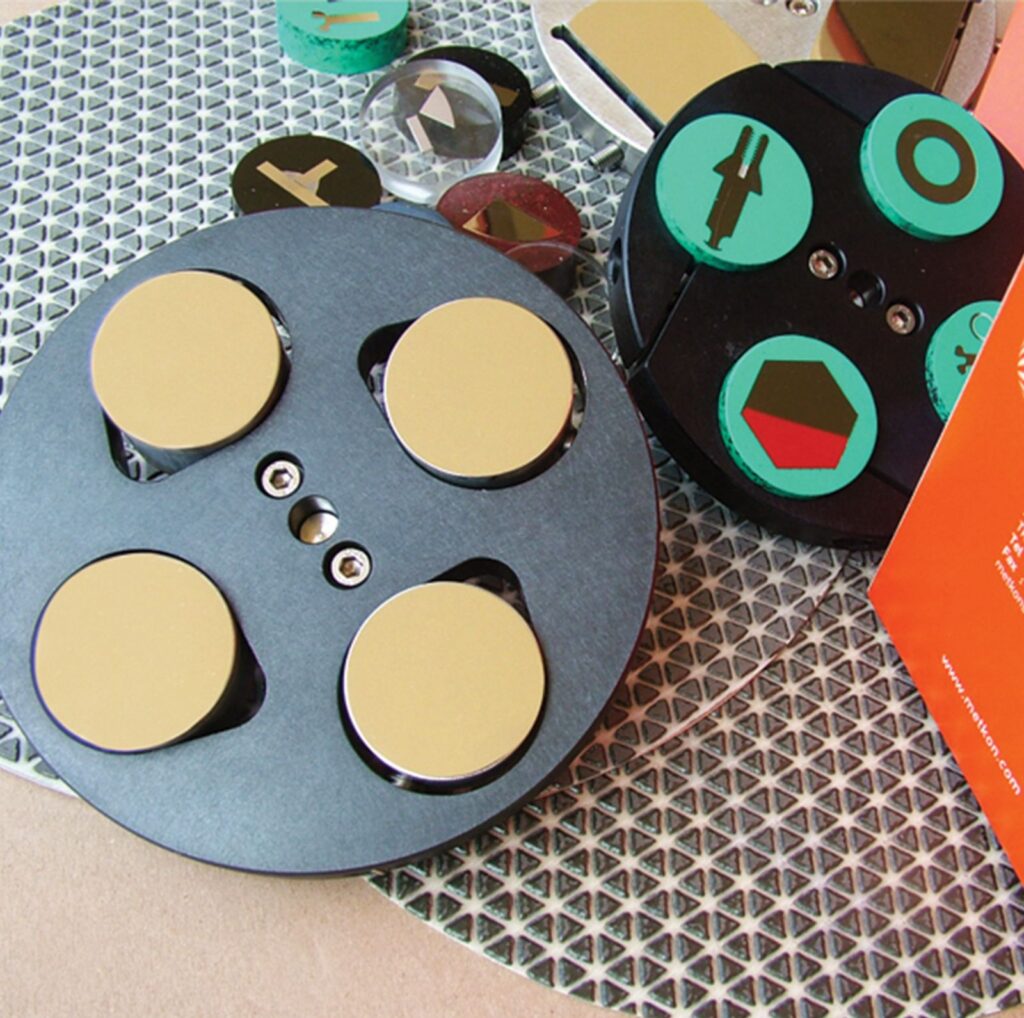
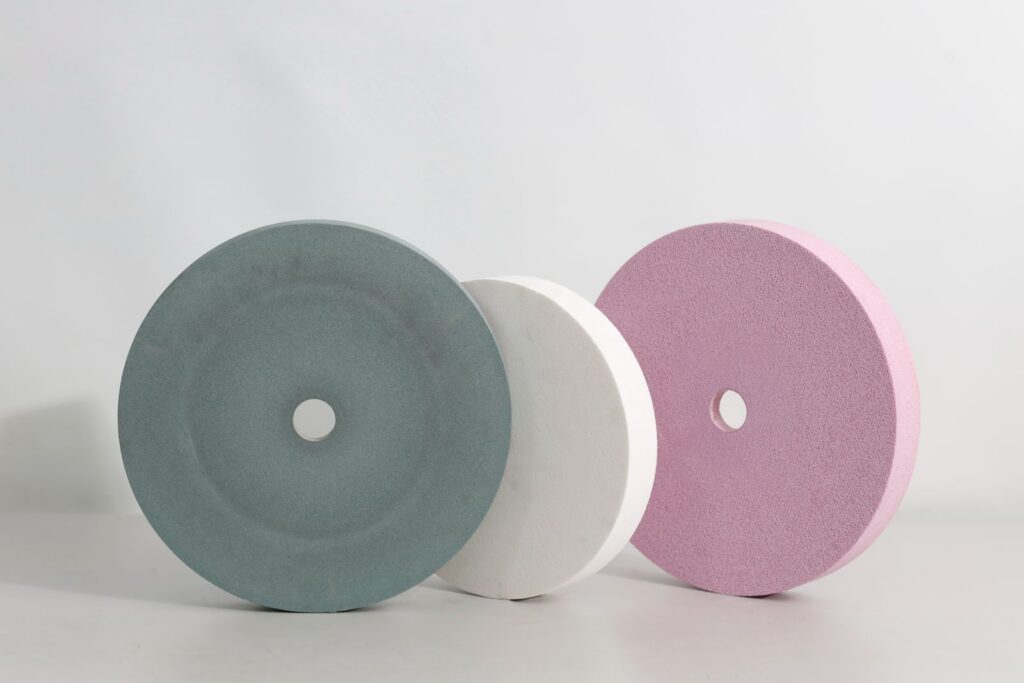
Select the proper metallographic grinding disks and consumables
Selection between diamond grinding disks and SiC papers has a great influence on outcome. SiC papers are suitable for first grinding but have short lives. On the other hand, diamond grinding disks provide longer lifetime and more uniform cutting action, particularly for the more difficult materials.
First and foremost, match consumable selection with the material properties. Ductile, malleable materials like aluminum value harder grinding surfaces that are less prone to embedding with the material, whereas brittle materials require surfaces that minimize fracturing and chipping.
Optimize pressure and speed of rotation
Pressure control directly affects deformation depth and preparation quality. Excessive force creates deeper subsurface damage whereas inadequate pressure wastes too much grinding time. Generally, reduce applied pressure with each progression towards finer abrasives.
Rotation speed also influences grinding effectiveness. High speeds remove material faster but generate more heat. Low speeds provide greater control but are time-consuming to prepare. The best compromise is material-dependent—ductile metals typically require slower speeds than ceramics or hard alloys.
Use sufficient coolant to prevent heat damage
Coolant fulfills three essential roles: cooling, lubrication, and grinding debris removal. Inadequate coolant results in thermal damage, smearing (particularly in soft materials), and rapid abrasive wear.
Use coolant such that the grinding surface is kept wet but not submerged. Modify flow rates based on material sensitivity—heat-sensitive alloys need more copious cooling than more thermally inert materials. Clean specimens well before advancing to the next step of grinding to avoid cross-contamination.
Dress grinding wheels from time to time to maintain them sharp
Blunting grinding surfaces produce smearing instead of cutting action. Furthermore, worn-out wheels increase friction and heat accumulation while lowering material removal efficiency. Dressing exposes new abrasive particles and maintains the desired surface texture.
For fixed abrasive wheels, use approved dressing sticks as directed by the manufacturer. Diamond grinding disks can typically be conditioned less frequently but may periodically be cleaned with ultrasonic baths or cleaners designed for this application.
Avoid cross-contamination between grinding stages
Cross-contamination introduces coarser abrasive particles into subsequent finer grinding stages, inducing unwanted scratches and inconsistent results. Prevent this common problem by:
- Ultrasonic cleaning specimens between grinding stages
- Using separate cloths/disks for each abrasive size
- Maintaining clean water systems with fresh substitute
- Cleaning specimen holders between preparation phases
Relate cloth resilience to material hardness
Cloth resilience (hardness) plays a significant role in grinding quality. Hard cloths maintain abrasives in place, preventing rolling that produces lapping tracks. Soft cloths trail out behind irregular surfaces but can cause edge rounding.
For hard, brittle samples, employ cloths with higher resilience to minimize fracturing. For soft, ductile samples, intermediate resilience prevents deep embedding of abrasive particles without cutting efficiency reduction.
Microscopic inspection of samples following each step
Microscopic inspection remains the optimal way to judge grinding quality. Inspect specimens following each preparation stage, inspecting for uniform scratch pattern, freedom from previous grit damage, and correct surface texture.
After getting rid of the previous operation damage, proceed to the next operation. Defects only appear after some time intervals—inspect the same spot every two minutes during preparation to discover minor surface condition variations.
Troubleshooting Common Grinding Defects
Even the best metallographic grinding techniques are not always easy. Determination of typical defects grants you the authority to diagnose their reasons and take certain actions. Let us speak about the most frequent grinding problems and their solutions.
Cutting or over-force-induced cracks
Cracks typically manifest as narrow lines of fracture on the surface of the specimen. If suspicious cracks are found, first determine where they originated. If mounting epoxy fills cracks then the cracks were there prior to mounting. Or cracks without epoxy fill typically form as a result of mishandling the preparation.
Common causes are:
- Destructive cutting with inappropriates cutoff wheels
- Excessive grinding pressure, particularly in brittle material
- Failure to cool during grinding
- Misclamping during cutting that results in stress being introduced
To cure cracking issues, reduce applied pressure during cutting and grinding. Vacuum impregnate with epoxy on brittle samples or layered materials before cutting. If in doubt about sources of cracks, re-impregnate samples with fluorescent dye-enriched epoxy to determine if cracks reach the surface.
Smearing due to lack of lubricant or dull abrasives
Smearing is caused by material plastically deforming across the surface rather than being cleanly removed. The flaw is exposed in streaked, flowing regions under microscopic examination, effectively hiding true microstructural detail beneath distorted material.
Key causes of smearing are:
- Poor lubrication during grinding
- Blunt abrasive particles
- Excessive cloth resilience causing abrasives too far into polishing cloth
- Diamond grain size too low for effective cutting action
To avoid smearing, adjust the amount of lubricant to the level where the cloth remains wet but not wetted. If lubricant levels are seen as suitable, switch to a less tough cloth or use larger abrasive grit sizes that possess the capability to cut and not smear the material.
What is the Vickers Hardness Test? | Method, Applications & Advantages
False porosity in ductile vs. brittle materials
Material properties have a significant impact on porosity representation during grinding. In ductile material, real pores are masked due to smearing and therefore exhibit artificially low porosity values. In brittle materials, surface cracking during grinding leads to spurious pores that do not exist in the actual microstructure.
To eliminate false porosity issues, take material-specific approaches:
- For ductile materials with too little porosity: Polish with Magneto 6μm diamond disk, followed by Magneto 3μm diamond disk, checking every two minutes until porosity becomes stable
- For brittle materials with too much porosity: Lengthen polishing time using progressively finer diamonds, checking the same area repeatedly until porosity readings become stable
- For accurate measurement of porosity, always polish to the point where no further variation in apparent porosity is possible, usually by COL-K on ALU-MIK for final preparation.
Lapping tracks by rolling abrasives
Lapping tracks occur when abrasive particles roll as opposed to remaining stationary during grinding. These types of defects create characteristically deep deformation patterns that may temporarily disappear when polishing but reappear on completion of the final stages of preparation.
Lapping tracks are primarily caused by:
- Inappropriate cloth choice with insufficient resilience
- Grinding pressure too low
- Contaminated grinding surfaces
To eliminate lapping tracks, switch to cloths with higher resilience and that hold abrasives in position firmly. If tracks persist, increase force by approximately 10% and repeat the preparation step. For cases hard to polish, analyze each stage of preparation in a sequential manner to identify exactly when lapping occurs.
Comet tails in unidirectional polishing
Comet tails form alongside inclusions or pores during unidirectional sample-to-disk motion. They appear as characteristic streak patterns radiating from more rigid microstructure features.
Three requirements changes prevent comet tail formation:
- Synchronize rotational speeds of grinding wheel and specimen holder
- Reduce force applied while polishing
- Limit prolonged polishing with soft cloths, which leads to tail formation
By recognizing these universal defects and being aware of their root causes, you can systematically debug metallographic grinding problems, yielding specimens that truly represent the material’s actual microstructure.
Optimizing the Grinding and Polishing Sequence
Obtaining an efficient grinding and polishing sequence unleashes the entire potential of metallographic sample preparation. Having mastered equipment choice and fundamentals, optimizing your preparation sequence is the second important key to consistently achieving artifact-free results.
Recommended sequence for steel and aluminum
Steel and aluminum require different preparation approaches according to their unique material properties. Begin with coarse grind (P240-P320) in steel samples to achieve a preliminary flat surface and proceed with intermediate steps (P400-P600) before completing with fine papers (P800-P1200). Continue with diamond polishing using 9μm, 3μm, and 1μm suspensions on the corresponding cloths.
For aluminum samples, more prone to smearing, the following sequence needs to be modified:
- Start with a finer initial grind (P320) to reduce deformation depth
- Use excessive lubricant during all grinding steps to prevent heat damage
- Proceed with diamond polishing under reduced pressure compared to steel
- Use Colloidal Silica for final step
- Check samples microscopically every two minutes per step
Throughout the series for both materials, examine specimens regularly under the microscope, noting persistent scratch patterns and absence of damage from previous steps. As quoted in metallographic preparation handbooks, “Once there are no further changes in porosity, proceed to the next polishing step.
Changing from SiC papers to diamond grinding disks
Diamond grinding disks possess several advantages over the traditional SiC papers, e.g., greater life and more consistent cutting action. Consider first when this modification is most suitable to your preparation needs:
Diamond disks excel with hard samples where SiC papers rapidly become worn out. Diamond disks also provide improved retention of flatness for multiple specimens. SiC papers remain best for initial grinding very rough specimens or where cross-contamination is a concern.
When employing diamond disks, adjust these parameters of critical importance:
Pressure: Typically 10% lower than with SiC papers
Lubricant: Tighter controlled flow rates required
Rotation speed: Often slightly raised for highest cutting efficiency
Final oxide polishing for surface transparency
The last procedure in metallographic preparation is oxide polishing, which removes the last trace of deformation without creating new artifacts. Metallographic troubleshooting guides explain that “If necessary, to remove the final of any smeared metal, the last step should be an oxide polish to remove material slowly, without creating new deformation.”
Oxide suspensions (usually colloidal silica or alumina) operate through both mechanical and chemical action. The two-way operation is particularly useful with smearing or prone-to-smear material or with specimens showing spurious porosity. Furthermore, the lower material removal rate provides more control over the final surface condition.
To obtain optimum oxide polishing results, use chemically compatible polishing cloths, maintain proper moisture levels, and clean specimens thoroughly between steps to prevent cross-contamination. Likewise, when polishing porous materials, measure true porosity by examining the same location repeatedly during polishing until porosity readings are consistent—a technique especially useful for discrimination between true voids and preparation artifacts.
Preventing Preparation Artifacts and Surface Defects
Precise mounting is the secret to preventing metallographic preparation artifacts. Regardless of how good a polish or fine grind is obtained, metallography defects within the mount will ultimately be visible through them. Metallographers will avoid spending hours of rework and false results by catching potential problems early.
Cold mounting vs. hot mounting: when to use each
Cold mounting using epoxy resins is best used with temperature-sensitive materials, broken specimens, and specimens of sensitive structures. Cold mounting minimizes thermal stress with good edge retention. Furthermore, cold mounting enables vacuum impregnation—essential in porous materials or cracked specimens before impregnation.
Hot compression mounting does allow for faster curing and typically superior hardness. It is thus ideally suited for routine metallographic grinding of durable samples. Of hot mounting options, thermoplastic resins like NET (Transparent Acrylic Powder) can be pre-heated and softened in the absence of pressure and are thus appropriate for more delicate specimens that otherwise would require cold mounting.
Avoiding gaps between resin and sample
Gaps between mounting medium and specimens are responsible for most preparation problems, like edge rounding, polishing cloth contamination, and etching problems. Preventing these gaps:
- Thoroughly degrease and clean samples before mounting for improved resin adhesion
- Use vacuum impregnation with epoxy for optimum gap avoidance
- Control cooling cycles carefully—cool the samples under pressure when hot mounting; prevent high curing temperatures when cold mounting
If gaps do appear nonetheless, you can recover specimens by re-impregnation with epoxy in vacuum. Dry and clean the sample carefully, place it in vacuum chamber, and use small amount of epoxy for gap filling. Then, continue preparation to remove excess epoxy from the surface.
Cleaning protocols to prevent contamination
Material contamination of metallographic grinding generates deceptive artifacts that compromise analytical integrity. First, insist on cleanings between preparation steps—ultrasonic cleaning is highly effective in removing embedded particles from previous steps.
Metallographic Etching: Key Techniques, Safety Tips & Choosing the Right Etchant
Second, use separate cloths and disks for every abrasive size in order to prevent cross-contamination. Cleaning specimen holders between preparation steps also prevents particle transfer between steps.
In case of open or multi-phase samples, cleaning is especially crucial. Any of the abrasive particles contained in pores or crevices can show up later on in subsequent preparation steps to produce unwanted scratches. Proper ultrasonic cleaning in suitable solvents is therefore unavoidable before moving to finer grinding or polishing steps.
Conclusion
Successful metallographic specimen preparation definitely depends on mastery of grinding. In this guide, we’ve explored how grinding lays the foundation for proper microstructural analysis. We’ve seen that integrity and flatness of the surface directly influence analysis results, determining whether your conclusion accurately represents the properties of your material.
The employment of appropriate equipment also has a lot to do with achieving consistent, quality results. Regardless of whether one uses single-disk grinders, semi-auto systems, or automatic equipment, knowing when to use each is paramount to optimal sample preparation.
The eight technical suggestions outlined above provide a coherent overview of how to achieve the grinding skill absolutely perfectly. Following the correct sequence of abrasives from P240 to P1200, selecting the correct consumables, the correct pressure, and the correct amount of coolant all significantly improve preparation quality. Standard microscopy at each step is still the most helpful practice, allowing one to identify potential issues beforehand.
Typical flaws such as cracks, smearing, counterfeit porosity, and lapping tracks can be eliminated methodically using correct technique and material-specific procedures. Steel and aluminum, for example, entail different preparation protocols due to their respective properties. The transition between SiC papers and diamond grinding disks also necessitates adjustments in pressure, lubricant, and rotation speed parameters.
Oxide polish final is the ultimate step towards achieving surface clearness, removing the finest traces of deformation without introducing new artifacts. It proves particularly beneficial with smearing-prone materials or specimens of spurious porosity.
Proper mounting of samples lays the very basis for preventing artifacts of preparation. The use of cold or hot mounting methods determines results, and prevention of between-resin and sample gaps avoids rounding the edges and contamination issues.
Cautious understanding of these metallographic grinding principles turns everyday sample preparation into accurate microstructural revelation. This is due to the fact that even advanced analytical techniques cannot overcome poor sample preparation. Therefore, mastering these fundamentals will further reinforce the accuracy and dependability of your metallographic analyzes, with corresponding more confident material characterization and better decision-making.
FAQs
Q1. What are the key steps involved in preparing metallographic samples? The key steps are cutting, mounting, grinding, polishing, and etching. Grinding is a crucial step on which accurate microstructural analysis depends.
Q2. Why is it so critical to grind properly in metallography? Proper grinding establishes the surface flatness and integrity required for correct analysis. It eliminates cutting damage and systematically decreases surface deformation, directly affecting the quality of the subsequent polish and the ultimate microstructural evaluation.
Q3. How do you choose between SiC papers and diamond grinding disks? SiC papers are satisfactory for rough grinding but have limited life. Diamond grinding disks are more durable and deliver more consistent cutting action, especially with hard materials. Your choice should be compatible with material properties and preparation stage.
Q4. What’s the best way to prevent contamination between grinding steps? Thoroughly clean specimens between steps using ultrasonic cleaning. Use separate cloths/disks for each abrasive size, maintain clean water systems, and clean specimen holders between stages. This prevents unexpected scratches and inconsistent results.
Q5. Troubleshooting common grinding defects like smearing or false porosity—how do I do it? To fix smearing, adjust the lubricant quantity and apply less durable cloths. To fix false porosity, add polishing time with progressively higher diamonds in brittle parts, or apply specific disk sequences to ductile parts, checking every few minutes until porosity stabilizes.


